用Hexo搭建在Github上的博客
众所周知Github有一个免费的Page空间,因此我们可以用来搭建一个blog,我们使用Hexo框架,这个框架使用node.js编写,能够实现blog的标签和分类功能,另外还有许多主题和拓展插件
Install Hexo
Hexo由node.js编写,所以我们要安装node.js
$ sudo apt-get install nodejs官方介绍安装Hexo要通过npm,安装npm,然后可以用npm安装Hexo
$ sudo apt-get install npm$ sudo npm install hexo-cli -g完成后在bash下直接输入hexo即可出现用法提示

Create a Repository
- 创建一个github的仓库,名字为
.github.io
Initialize Hexo
在一个根目录下初始化一个Hexo框架
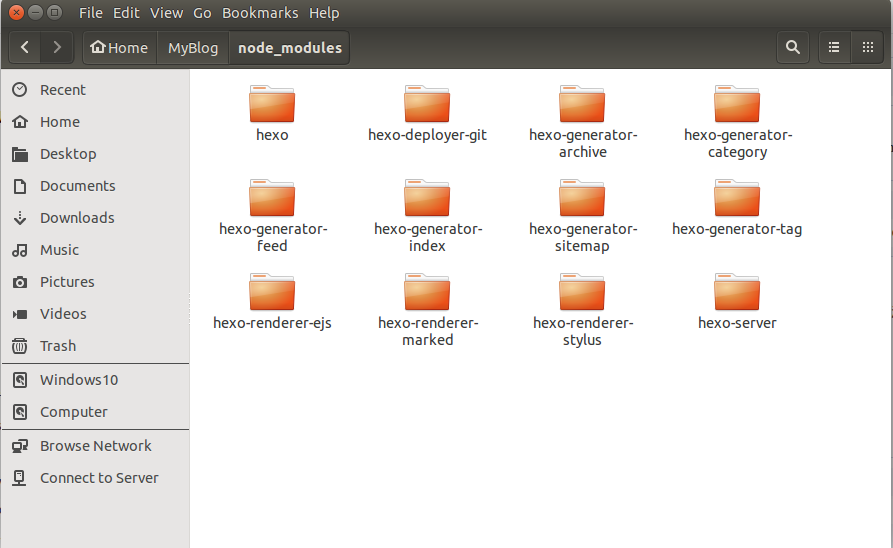
$ hexo init MyBlog$ cd MyBlog$ sudo npm install$ sudo npm install hexo-deployer-git --save$ sudo npm install hexo-server --save$ npm install hexo-generator-index --save$ npm install hexo-generator-archive --save$ npm install hexo-generator-category --save$ npm install hexo-generator-tag --save$ npm install hexo-renderer-marked@0.2 --save$ npm install hexo-renderer-stylus@0.2 --save$ npm install hexo-generator-feed@1 --save$ npm install hexo-generator-sitemap@1 --save好了把所有需要的插件和hexo工具安装完毕后就会在node_modules文件夹下多了很多包
编写_config.yml文件,其中设置
title: 米诺的博客 \
subtitle: 千里之行,始于足下 \
description: \
author: Mino Gump \
language: zh-CN \
timezone:url: http://MinoGump.github.io \
root: / \
permalink: :year/:month/:day/:title.html \
permalink_defaults:type: git \
repo: git@github.com:MinoGump/MinoGump.github.io.git \
branch: master
Write an Article
新建一篇博客
$ hexo new 'article-name'出现一个md文件,编辑里面的内容后提交
- 可以使用图片,将图片放在source文件夹下即可引用
- markdown - hexo 语法请参考这个链接
Run a Blog
- 输入以下命令,在本地localhost:4000上运行
$ hexo generate$ hexo server
Deploy the Blog to Github
在博客根目录下添加一个本地git仓库,把除了public的所有东西添加到远程仓库中,并放在hexo分支中,用来存储这个博客的配置
$ git init$ git checkout -b hexo$ git add remote origin git@github.com:???/???.github.io.git$ git add ...$ git commit ...$ git push origin hexo:hexo最后再使用deploy命令即可上传到github page中
$ hexo deploy